My daughter came back from several years in Paris with the firm conviction that every bra should have at least one matching panty. And that every piece of lingerie should be the best quality you can afford. It took a little convincing, but now I quite agree with her. And I must say that, even in the short time I’ve been making my own under-goodies, I’ve noticed that there’s something about setting a matching panty down next to a bra that seems to make the bra look even better. Especially a beautiful, unique, hand-made bra!
So today I’ll show you the steps that go into making a color-blocked, high-waisted panty; I’m planning this to coordinate with my newly-finished second bra. I’ll be using my OhhhLulu Betty High-waisted Panty pattern (the same one I used when I made my first bra and panty).
Here’s my second bra, with some materials I pulled out to see if they’d coordinate:
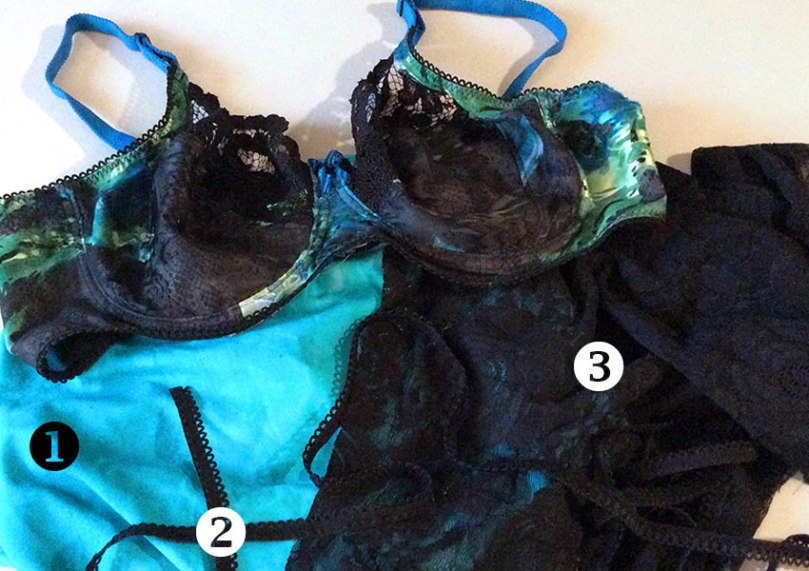
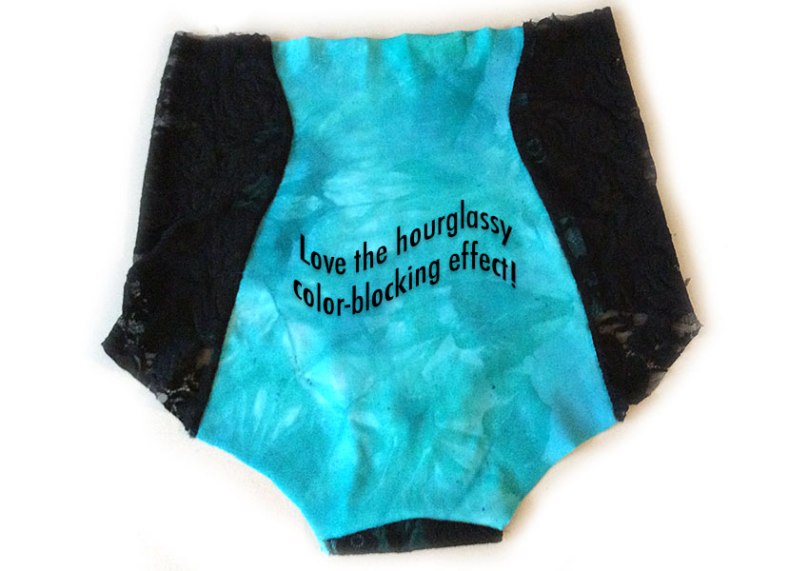
This panty is divided into panels: center front, center back, and side pieces that connect the front and back (no side seams). These panels can be used to create color-blocking, so I’m planning to use the black lace layered over the turquoise for the front panel, black lace alone for semi-sheer sides, and the turquoise Spandex alone for the back panel.
Once my pieces are all cut, including the crotch lining cut from pre-washed cotton knit, the first thing I need to do is baste my 2 front panel layers together. But first, as with the pieces for my second bra, I’m finding it really helpful to lay everything out— it’s so much easier to understand what I need to do when I can see the whole project like this:

Tip: When sewing with stretchy fabrics, I almost always use a shallow zig-zag stitch, as shown in the basting here, which is quite flexible. Machine settings vary, but my settings are: stitch length = 3.0, stitch width = 1.5. (I use this when sewing garments with knits as well.)

Now I’m ready to start seaming! I’ll basically work my way around the panty, front to back: sew side panels to front, then back to side panels.

Before I sew the side panels to the back, I need to take care of the crotch lining first. It took me a while to get this part straight, so I’ll show you how to put the layers together. (This technique, used commonly in ready-to-wear panties, results in an enclosed seam, rather than having an exposed seam in a sensitive area.)
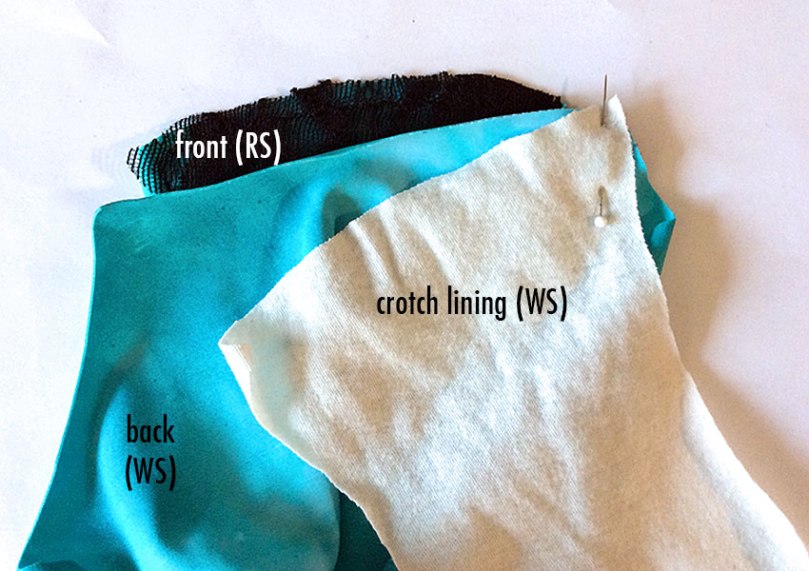
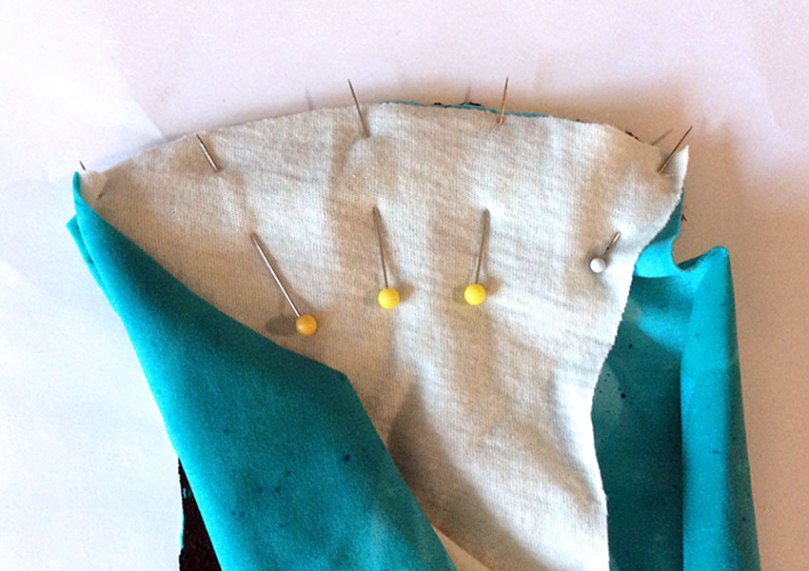
And here, all 3 layers are pinned together:
After stitching the crotch seam and turning the layers right-side out, here’s what it looks like:

Now I’ll just finish off the crotch by stitching down the remaining turned-under edge. (Is it just me, or is there something strange about the word “crotch”?? Probably just me.)
Note: The pattern suggests either serging this raw edge or finishing it with zig-zag stitching; personally, I like turning the edge under and stitching it in place, although I might not always want that additional bit of bulk with certain fabrics.
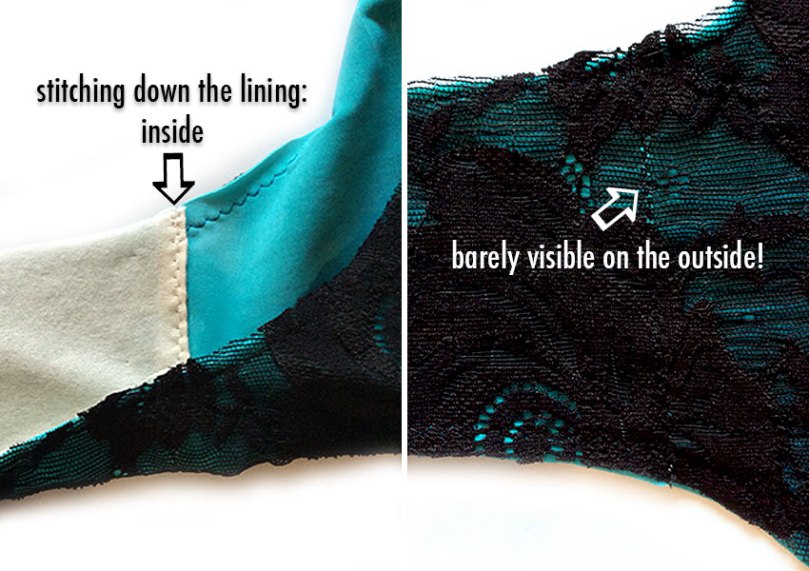
Now all that’s left to do is sew the side panels to the back panel, and add the elastic trim!
Almost done! Now for the elastic, which I’ll sew on with the same 2-stitching-pass method I used for the elastic on my second bra. The only additional thing I need to do is to seam the elastic ends together first; I’ll do this for the waist, and for the 2 legs, because I want a continuous loop of elastic going around these circular parts of my panty.
Tip: How big should your elastic pieces be? I cut mine to fit smoothly around the leg and waist openings, with no extra length; this means that I will need to stretch the elastic while sewing it down, but only very slightly.
It’s a little fiddly, seaming the elastic ends together. Use the same small zig-zag stitch as for the rest of the panty, and back-stitch the whole seam for security.
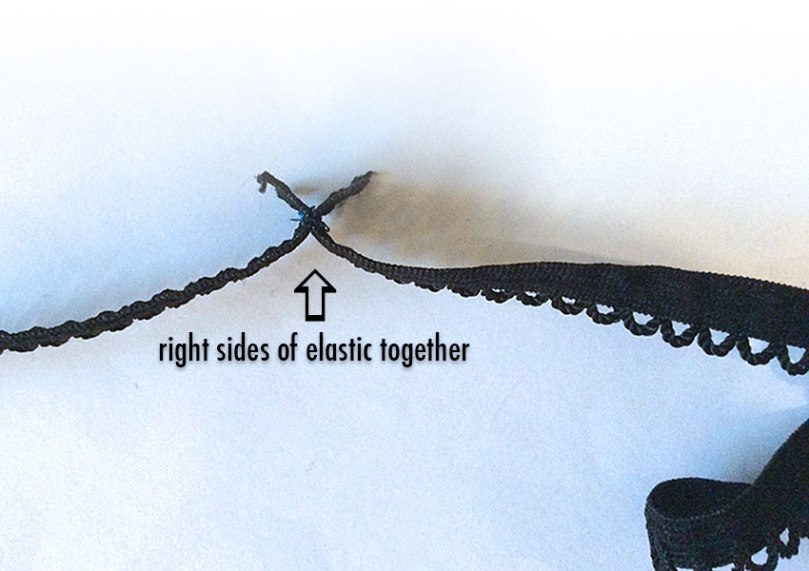
A look at the 2-step stitching process (for more details on this, see my last post):

Done! (Wow, I’ve been saying that a lot lately— you have to love these projects that are so quickly finished!)
Here’s my finished high-waisted panty, along with the bra it coordinates with!
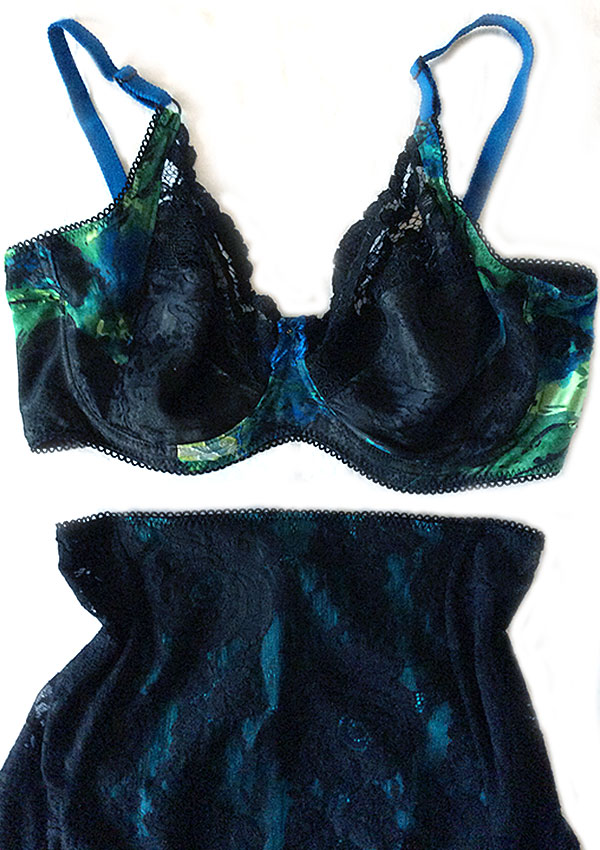
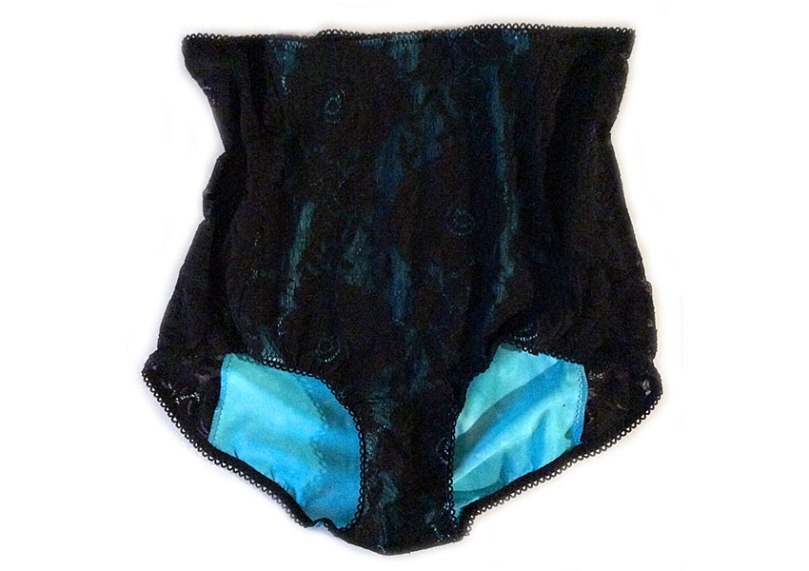
You know, it just now occurred to me to suggest that, even if you don’t want to tackle making your own bras, you can still make panties to coordinate with the bras you buy. You know how those matching panties add up when you’re buying them— making your own takes very little fabric, and most likely less time than a trip to your local mall.
Okay, that’s it for today! Next time, I’m going to step back for a minute and make some notes and observations about my bra-and-panty-making adventure. Nothing major, just a few things I thought you’d like to know at this point. After that? I’ve got an even quicker panty project planned: a lace-trimmed thong, which will also coordinate with this bra! (I can already see my lingerie wardrobe increasing exponentially!)
Today’s resources:
OhhhLuluSews (on Etsy)
The Betty High-waisted Panty pattern from OhhhLuluSews
To see some examples of their patterns already sewn up, visit OhhhLulu!

Very pretty panties. Thanks for all the tips. Will try some of my own soon.
LikeLiked by 1 person
Thank you! I’m quite inspired by your bra collection!
LikeLike
[…] that my second bra is finished, along with its coordinating high-waisted panty, I thought this would be a good time to collect my thoughts about this whole lingerie-making […]
LikeLike
[…] now made 2 versions of Ohhh Lulu’s Betty High-waisted Panty pattern, including this lace-overlay beauty, and I’m ready to try something new! The other day, I fished a lace thong out of my panty […]
LikeLike
[…] high-waisted. This should not come as a shock, if you’ve seen some of my previous posts, like this tutorial for making your own high-waisted pair. I do like the extra coverage, which for me translates as […]
LikeLike
[…] I’ve now made 2 high-waist panties, and 1 lace-trimmed thong, so I’m going to make a bikini-style panty this time. (This is one […]
LikeLike
[…] closure. I’ll show you all those final bits next time, followed by step-by-step photos of making a high-waisted panty to coordinate with this […]
LikeLike
[…] up: We’ll go step-by-step through making a coordinating panty, which will incorporate fabric I hand-dyed along with the bra notions— don’t miss […]
LikeLike
[…] have the crotch lining installed so that there are no exposed seams or raw fabric edges. (Both the high-waist panties and the thong have one seam that’s enclosed, but the opposite end of the lining is just sort […]
LikeLike
[…] bra-making (or a panty, as shown here), I use a 3-step zig-zag stitch mostly as the final step in applying […]
LikeLike
[…] the usual 2-step method, I’ve attached elastic trim to the lower edge of the band. (This post includes instructions for this method.) The trim for the upper edge of the band will go on later, […]
LikeLike