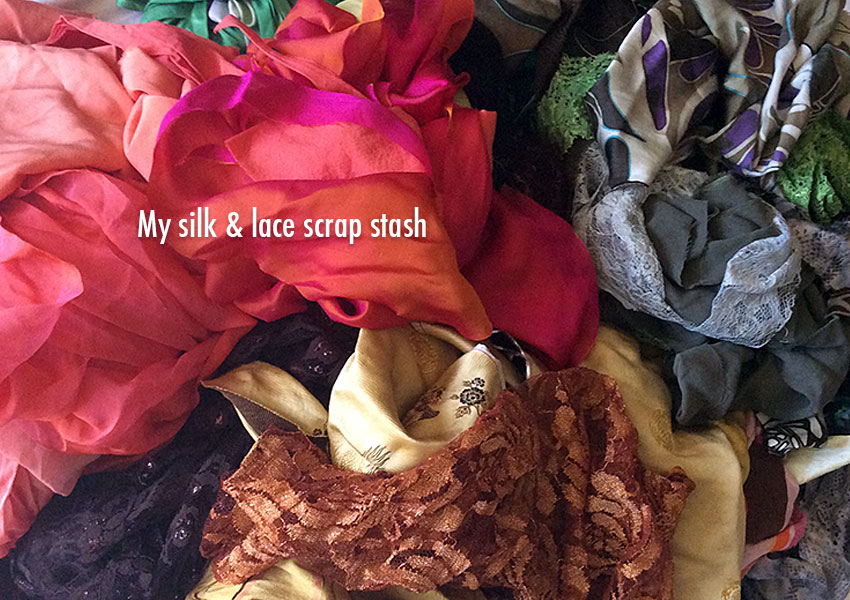
Now I’ve chosen my pattern, made a few minor alterations to it, and organized the pattern elements. With the goal of making as much of this bra as possible with materials I already have on hand, I’m anxious to pick my main fabrics. Off to my scrap stash!
Tip: Be sure to read through your bra pattern’s instructions before even thinking about fabrics. In my case, my pattern specifies fabrics with no stretch for every part except the back bands, which use powernet. But some of the patterns I’ve looked at, especially the bralette and some foam-lined styles, call for fabrics with stretch. My pattern also calls for non-stretch lace for the upper part of the cups.
Here, I’ve sorted my scraps into general color families:
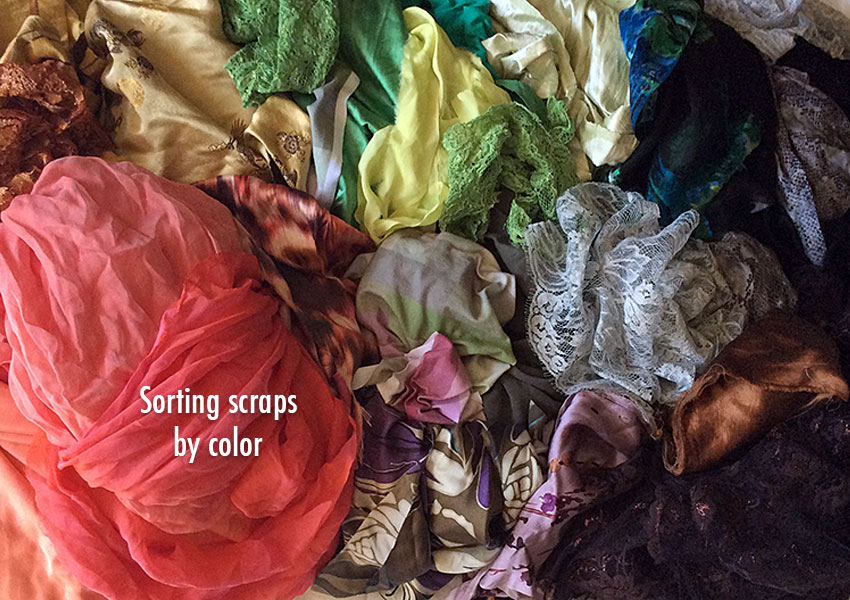
Tip: Of course, your bra doesn’t need to be made entirely with the same color; in fact, it’s not easy to find some of the notions (like the back closures) in anything other than black and white. Maybe ivory. So I’ll be going into the possibilities of dyeing your materials in the very near future!
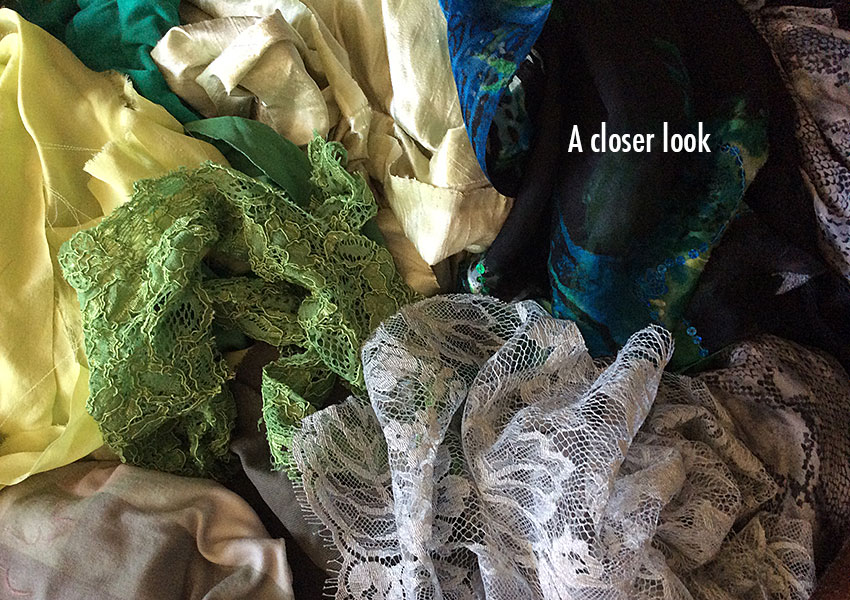
A closer look reveals just a few of the different textures and colors in my stash:
Now to pick my main fabric. This will be the starting point from which I build my color palette:
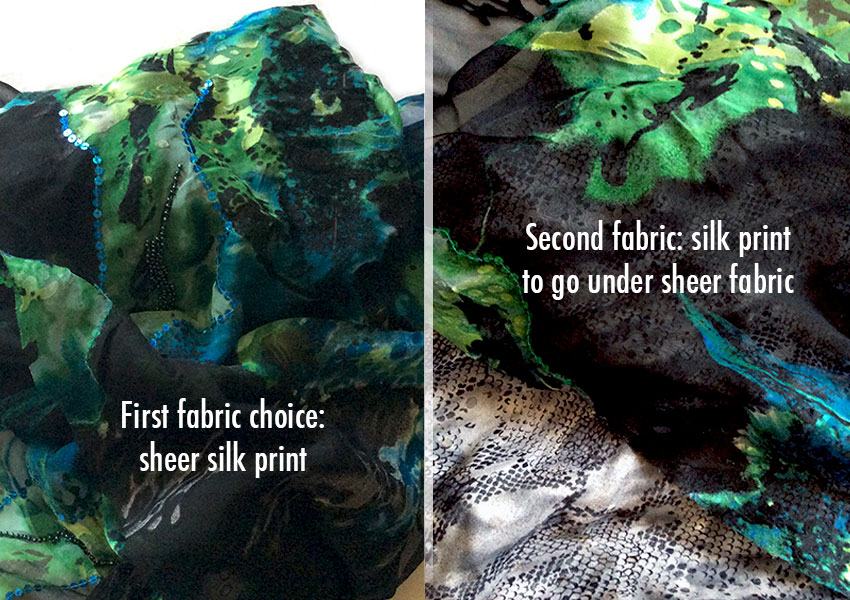
Note: On the main fabric, you can see some isolated areas with sequins and beading. I’ll try to avoid using those parts of this fabric; they’re quite beautiful, but I don’t think I want the extra weight on my bra, and it’s not that easy, especially on small pieces, to sew around or over beads and sequins. (I’ve got the broken machine needles to prove it!)
Now that the primary fabrics are in place, I have the beginnings of a color palette: green, blue, teal, black, grey. This makes it easier to start putting together the other elements I’ll need for the bra, as well as a possible coordinating panty: lace (for upper cups), and elastic trim.
Tip: Using the same charmeuse print as for my first bra for the under-layer of this one means that this new bra will coordinate with the panty I made to go with my first one!
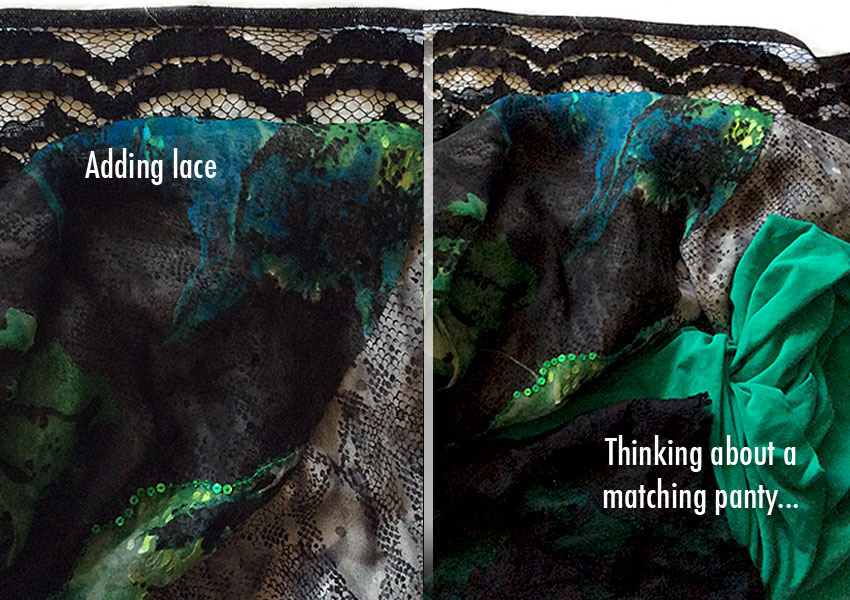
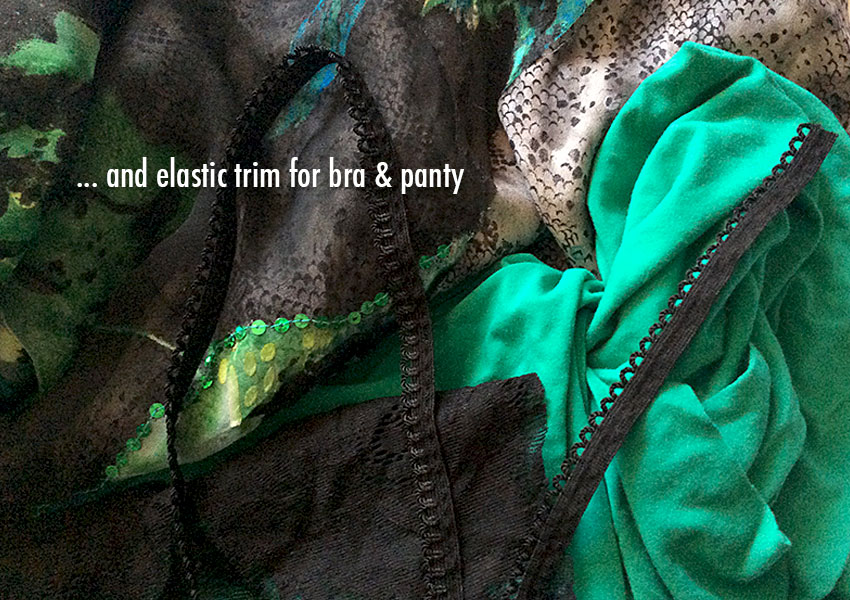
Here, I’ve added an attractive black elastic trim to the mix; this will go on the upper and lower edges of the bra, and probably the waist and legs of the panty.
Tip: Using the same trim for both bra and panty is an easy way to give the feeling of a matching set, even if the fabrics for the 2 pieces are different, as in this case. When you’re making a bra out of primarily woven fabrics, and the panty entirely with stretch fabrics, as I’m doing here, it’s not always obvious how to make them “match”.
Hurrah! I’ve got the major parts nailed down. Now I’ve got to think about the remaining necessities: something to make bra straps, the back closure, rings & sliders for the straps, and channeling for the underwires. Spoiler alert: I may have to dye. That’s up next!

[…] this point in my second bra project, I’ve chosen my pattern and assembled fabrics from my scrap stash, incidentally creating a color palette in the […]
LikeLike
[…] in various shades of blue and green, to coordinate with the printed silk I’d chosen for my second bra project. Personally, I think that using this related-but-not-necessarily-matching approach really helps all […]
LikeLike
[…] After choosing my pattern, deciding which fabrics to use, and dyeing notions and more fabrics to coordinate, now I’m on to the really fun part: sewing […]
LikeLike
[…] Now that I’ve chosen my pattern, organized it, and made alterations to it, I’m ready to move on to (drum roll, please) choosing materials. In my next post, I’ll get started by raiding my own fabric scrap stash! […]
LikeLike
Hi there! Just sent you a message via Etsy but trying here too — I’m working on an article for Seamwork Magazine about using up your fabric/lace/trim/etc. scraps by making lingerie, and I saw that you had a series of blog posts about that very topic. Would you be willing to answer some questions via email (that I would then incorporate into the article by quoting you)? If that would work for you, please drop me a comment on my blog with a good way to contact you, and do let me know if you have any questions. Thanks!! -Jessica
LikeLike