The Great Linen Experiment

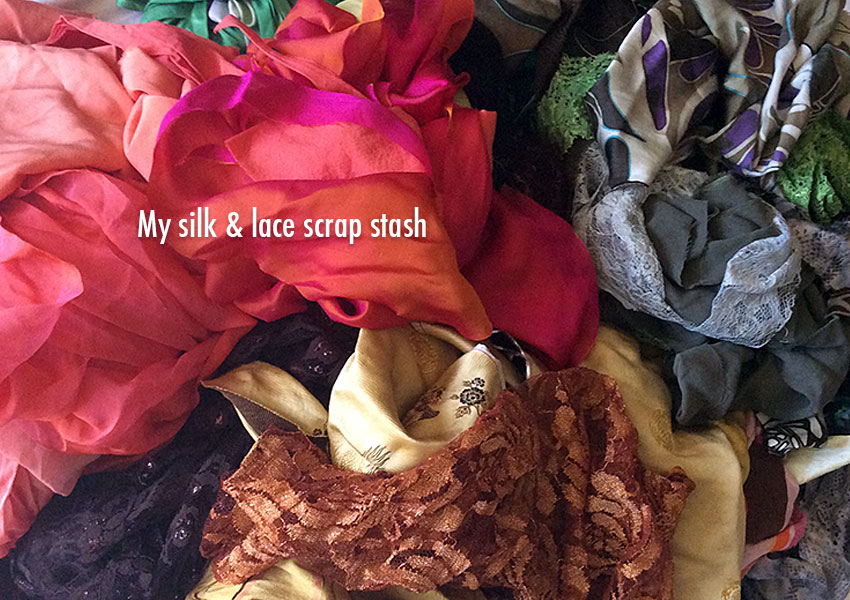
Today seems to be all about circling back to my early days of bra-making (okay, that was only three years ago). I’m wearing the very first bra I ever made, the hot summer weather has made me nostalgic for distant memories of wearing refreshingly cool linen, before it became adulterated with polyester and other mysterious substances that for some reason render it wrinkle-free, and nostalgia has also led me back down memory lane to the Marlborough bra pattern— the first one I ever used, and still one of my very favorites; my second-ever bra was also a Marlborough, made with silk scraps from other sewing projects, and I literally wore it until it was in shreds.

And therein, dear readers, lies the origin of The Great Linen Experiment. Read on.

Detail of my printed linen fabric
Detail of my printed linen fabric. I love the unexpectedly bright colors, most especially the almost-acid yellow and the deep fuchsia pink. The occasional streaks of white, as if it had been brushed with bleach, add to the intriguing, vintage-inspired effect.

Read More »

ArteCrafts Launches New Website, Celebrates with Free Shipping!

ArteCrafts, one of my very first suppliers of bra-making goodies, has just launched their brand-new website: bramaking.supplies. To celebrate, ArteCrafts’ owner, Natasha, is offering free (yes, FREE) shipping on all U.S. orders placed on her website* until May 15, 2015! Simply use the discount code FREESHIP when you place your order.

In my very short time making my own lingerie, the beautiful and high-quality materials I’ve already used from ArteCrafts include wide stretch lace (for my first thong), continuous hook-and-eye bra back closure tape (on all of my 4 bras, including dyeing the tape for 2 of them), and super-soft bra strap elastic, which I’ve dyed to use on my second and fourth bras.

Stretch lace for thong
A gorgeous wide stretch lace from ArteCrafts that I used for my first thong. Click the photo to find this lace on their new website— and get free shipping too!

Natasha also sells fabrics, specialty elastics, underwires, kits, and much more. I highly recommend her shop for carefully curated bra-making supplies!


*IMPORTANT: This special offer applies to orders placed on bramaking.supplies only— not the ArteCrafts Etsy store or any prior orders.

Dyeing Nylon Rings and Sliders

Helpful tips on dyeing rings and sliders, from Natasha of ArteCrafts, one of my favorite suppliers!

CRW_1717

I wrote about nylon vs polyester sliders a few months ago and how polyester slides are impossible to dye. For this reason I have switched to stocking nylon sliders so my customers can dye to match their other notions. Plastic findings can be the most difficult to dye and sometimes you might give up on them too soon. Here’s a few tips on how I dyed the slides in this picture. I used RIT Lemon dye and they came out fairly true to shade. But they took longer to take up the dye and a little bit of special handling.

I’ve done a lot of testing with dying these sliders with acid and RIT dyes. The secret to getting the color that you want is acidity and time. I recommend dying all your notions as usual but once you’ve taken out your fabric, elastics, channeling and hook and eyes out…

View original post 114 more words

My Second Bra, Part 4: Finishing!

In Part 3 of my second bra project, we ended after adding the back bands. Now all we have to do is add the finishing touches: elastic trim, straps, and the back closure. Then we’ll slip the underwires into place, and finish off the ends of the channeling. And I just may add a little embellishment to the center front (we’ll see).

I’ll start by adding my elastic trim to the underarm/back band edge. This technique, which you’ll see on virtually any ready-to-wear bra or panty, is done in 2 separate steps. The first is to attach the elastic, wrong side facing up (very important) to the right side of the bra, using a small zig-zag stitch, and sewing very close to the inside edge— the edge closest to the picot loops.

This piece of elastic will go from the top edge of the back band (not including the scooped-out area near center back) to the end of the outside edge of the power bar.


 Tip: You don’t want to stretch the elastic much while attaching it; a slight stretch going around the curve of the underarm helps to smooth that curve, but don’t stretch the elastic on the back band portion.


Elastic trim: sewing the first pass
After making sure your elastic side is placed with the wrong side facing up, you’ll want to align the non-picot edge of your elastic with the fabric edge. Then zig-zag-stitch as close as possible to the inside edge of the elastic. (Since I’m sewing here with black thread, it’s nearly impossible to see my stitches, so I’m representing them with the small white vees by the green arrow.)

Read More »

All the Pretty Pieces, Postscript: Dyed to Match

Yesterday, I dyed some bra notions (plus possible panty fabrics) in various shades of blue and green, to coordinate with the printed silk I’d chosen for my second bra project. Personally, I think that using this related-but-not-necessarily-matching approach really helps all the colors blend with the sort of watercolor-y abstractness of the print:

Dyed pieces with print fabric
Using several shades of blue and green helps all these parts blend with the print of my silk fabric (1). 2. Stretch lace fabric. 3. Bra straps. 4. Channeling. 5. Back closure. 6. Panty Spandex.

If I’d chosen just one solid color for the coordinating bits, I would have had to work harder at making that color “match” one color in the print.

And then I got to thinking…Read More »

All the Pretty Pieces: Dyeing to Match (or Not)

At this point in my second bra project, I’ve chosen my pattern and assembled fabrics from my scrap stash, incidentally creating a color palette in the process.

Materials for my second bra
The main elements going into my second bra: 1. Sheer silk print, to be layered over 2. Silk snakeskin print (the same fabric I used for my first bra!). 3. Black stretch lace fabric, to be layered over 4. Bamboo/spandex for coordinating panty. 5. Black picot-edge elastic trim for both bra and panty.

Now I just need to add the remaining bits and pieces that go into making a bra: channeling (this is what houses the underwires), strap material, elastic trim (for both bra and panty), powernet fabric (for the back band), and the back closure for the bra.

And here is where I come crashing right up against the dreaded, frustrating, tear-my-hair-out question:Read More »

My Second Bra, Part 2: Materials from the Scrap Stash

Now I’ve chosen my pattern, made a few minor alterations to it, and organized the pattern elements. With the goal of making as much of this bra as possible with materials I already have on hand, I’m anxious to pick my main fabrics. Off to my scrap stash!


Tip: Be sure to read through your bra pattern’s instructions before even thinking about fabrics. In my case, my pattern specifies fabrics with no stretch for every part except the back bands, which use powernet. But some of the patterns I’ve looked at, especially the bralette and some foam-lined styles, call for fabrics with stretch. My pattern also calls for non-stretch lace for the upper part of the cups.


My scrap stash
Quite an impressive pile, isn’t it? Out of my total stash, I pulled just silk and lace fabrics; the silks range from chiffon and georgette to crepe de chine, charmeuse, twill, and brocade. Some of these will hopefully become the main ingredients in my new lingerie wardrobe!

Read More »

My First (hand-made) Bra!

I’ll always remember my first time…

Okay, it does sound a little weird to say this is my first bra, I admit. It’s been quite a while since the day I struggled to put on the unfamiliar little thing. Actually, my memory takes me more to the feeling of fervently wishing to have reason to wear my first bra! Oddly enough, it’s not that different than how I’ve felt throughout this process of making a bra for the first time: hopeful, nervous, excited, a little shy, and more than a little intimidated.

So, after some initial angst, a great deal of procrastination, a few moments of puzzlement (not to say frustration), and ultimate success, here it is:

My first bra!
My first completed hand-made bra (and matching high-waist panty). See the end of this post for a list of material and pattern resources and links.

Read More »