This just in: Orange Lingerie, the source of the beautiful pattern I’ve used for my first and second bras, has just released 2 sensational new panty patterns!
The first is called the Kingston Thong:

This just in: Orange Lingerie, the source of the beautiful pattern I’ve used for my first and second bras, has just released 2 sensational new panty patterns!
The first is called the Kingston Thong:
Now that I’m finished making my third bra, I wanted to do a quick follow-up about the bikini panty I made to go with it. I’ve used the same pattern as for my thong, Kwik-Sew 3881, which includes a total of 4 styles; hipsters and briefs are the other two.
After making some fairly substantial changes in the bra pattern, I’ve decided (for once) to keep this panty simple: just coral poly/Spandex (the same fabric I used for the bra cups) and foldover elastic. Oh, and I saved one of the little flower thingies to use as an embellishment!

Now that I’ve got my cups sewn into my third bra project, it’s time for one of the main things I’m doing differently than the pattern (Kwik-Sew 3594): adding underwires. That is, at this phase, I’ll be adding channeling to house the underwires, which will get inserted a little later. Here’s what I’ve got so far:


I’ve now made 2 versions of Ohhh Lulu’s Betty High-waisted Panty pattern, including this lace-overlay beauty, and I’m ready to try something new! The other day, I fished a lace thong out of my panty drawer (okay, it’s more like a bin), and it occurred to me to try modifying a thong pattern to make something similar. In this post, I’ll show you how I made the modifications, and get my pieces cut; next time, I’ll sew my thong together!
Here’s the pattern I’m starting with, Kwik-Sew 3881, which includes patterns for several basic panty styles:

My idea is to replace the upper edge of the thong with wide stretch lace. Here’s the plan:Read More »
Now that my second bra is finished, along with its coordinating high-waisted panty, I thought this would be a good time to collect my thoughts about this whole lingerie-making experience, and share a few things that have occurred to me along the way.

My daughter came back from several years in Paris with the firm conviction that every bra should have at least one matching panty. And that every piece of lingerie should be the best quality you can afford. It took a little convincing, but now I quite agree with her. And I must say that, even in the short time I’ve been making my own under-goodies, I’ve noticed that there’s something about setting a matching panty down next to a bra that seems to make the bra look even better. Especially a beautiful, unique, hand-made bra!
So today I’ll show you the steps that go into making a color-blocked, high-waisted panty; I’m planning this to coordinate with my newly-finished second bra. I’ll be using my OhhhLulu Betty High-waisted Panty pattern (the same one I used when I made my first bra and panty).
Here’s my second bra, with some materials I pulled out to see if they’d coordinate:

Yesterday, I dyed some bra notions (plus possible panty fabrics) in various shades of blue and green, to coordinate with the printed silk I’d chosen for my second bra project. Personally, I think that using this related-but-not-necessarily-matching approach really helps all the colors blend with the sort of watercolor-y abstractness of the print:

If I’d chosen just one solid color for the coordinating bits, I would have had to work harder at making that color “match” one color in the print.
And then I got to thinking…Read More »
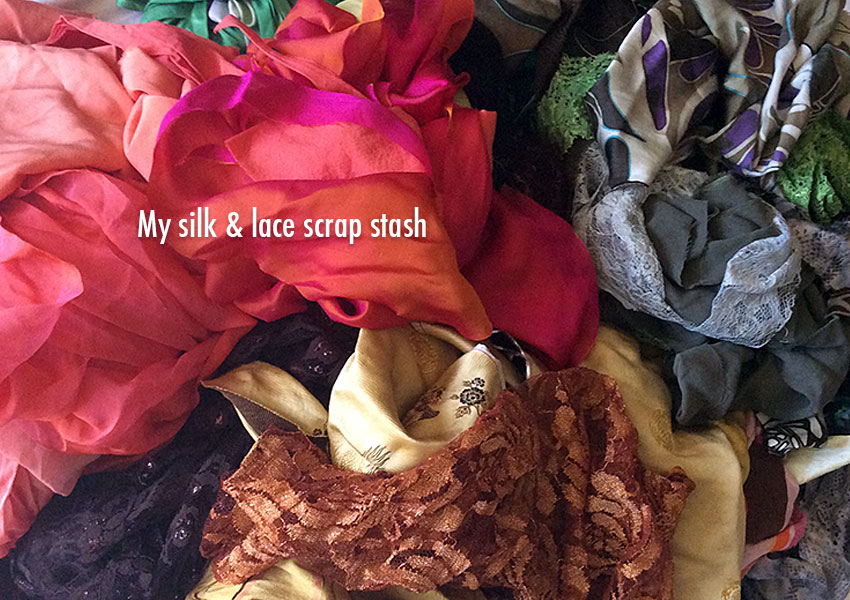
At this point in my second bra project, I’ve chosen my pattern and assembled fabrics from my scrap stash, incidentally creating a color palette in the process.

Now I just need to add the remaining bits and pieces that go into making a bra: channeling (this is what houses the underwires), strap material, elastic trim (for both bra and panty), powernet fabric (for the back band), and the back closure for the bra.
And here is where I come crashing right up against the dreaded, frustrating, tear-my-hair-out question:Read More »
Now I’ve chosen my pattern, made a few minor alterations to it, and organized the pattern elements. With the goal of making as much of this bra as possible with materials I already have on hand, I’m anxious to pick my main fabrics. Off to my scrap stash!
Tip: Be sure to read through your bra pattern’s instructions before even thinking about fabrics. In my case, my pattern specifies fabrics with no stretch for every part except the back bands, which use powernet. But some of the patterns I’ve looked at, especially the bralette and some foam-lined styles, call for fabrics with stretch. My pattern also calls for non-stretch lace for the upper part of the cups.
I’m now in the planning phase for my second bra! And since I started this blog only after the first one was completed, this time I can show you my process, from beginning to end. I’m starting today with choosing my pattern.
For me, this part is easy. I’m going to use the same pattern as for my first bra: The Marlborough Bra pattern from Orange Lingerie. I’m choosing this because, although my first one really fits amazingly well, there’s a bit of fine-tuning I’d like to make to the pattern this time around.
Tip: According to bra-fitting experts, if you’re smaller-busted, styles with rounder cups will help enhance your shape. Larger girls tend to benefit from the structure provided by cups with 2 to 3 pieces, rather than seamless cups. I generally wear a DD/E cup, so I’ve started with the Marlborough’s 3-part cup.
In this photo, you can see the some of the original pattern pieces (on regular printer paper), and a piece I traced from the original onto tissue paper. The red line is the cutting line, and the dashed green line is the seamline.

Because no niche IS my niche
Sharing memories along with my grief journey
A seriously fun blog from Jen Wilson
Adventures in Sewing and Beading
Bringing History to Life
The practical pleasures of living in color
A Plus Size Sewing Community
Sewing up a self-made wardrobe
Unsolicited observations on everything.
Stirring & steaming since 2014
Thank you for sewing with us...
Food, Photography & Joie de Vivre
Sew Lingerie + Handmade Lingerie with Madalynne Intimates
Adventures in Life and Style
